Backends
The primary function of a delivery backend is to execute the code of the delivery channels and providers. Unlike notification channels, you can only use one delivery backend at a time.
Celery
Install the optional Celery dependency with:
pip install django-notifs[celery]
Enable it by setting NOTIFICATIONS_DELIVERY_BACKEND to notifications.backends.Celery
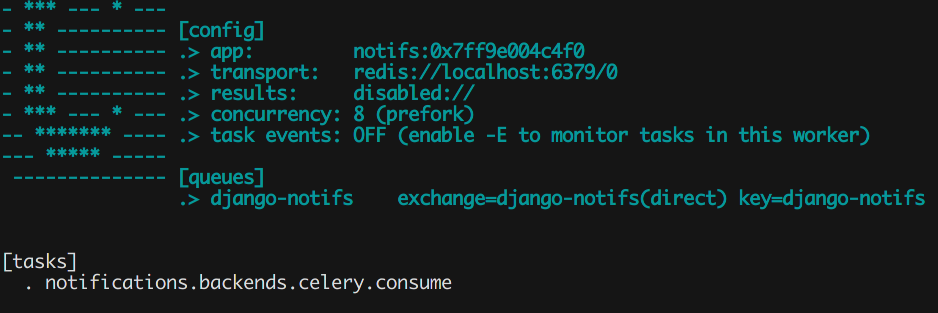
Run celery with the command:
celery -A yourapp worker -l info -Q django-notifs
Whenever a notification is created, it’s automatically sent to celery and processed.
Make sure you see the queue and task (notifications.backends.celery.consume) in the terminal.
If you have issues registering the task, you can import it manually or checkout the Celery settings in the repo.
Channels
Install the channels dependency with:
pip install django-notifs[channels]
This also installs channels_redis as an extra dependency
Declare the notifications consumer in asgi.py:
from notifications import consumers

application = ProtocolTypeRouter({
    ...,
    'channel': ChannelNameRouter({
        'django_notifs': consumers.DjangoNotifsConsumer.as_asgi(),
    })
})
This example assumes that you’re running Django 3x Which has native support for asgi. Check the channels documentation for Django 2.2
Next add the django_notifs channel layer to settings.CHANNEL_LAYERS:
CHANNEL_LAYERS = {
    ...,
    'django_notifs': {
        'BACKEND': 'channels_redis.core.RedisChannelLayer',
        'CONFIG': {
            "hosts": [('127.0.0.1', 6379)],
        },
    },
}
Finally, run the worker with:
python manage.py runworker django_notifs

RQ
RQ is a lightweight alternative to Celery. To use the RQ Backend, install the optional dependency with:
pip install django-notifs[rq]
django notifs uses django-rq under the hood
Enable it by setting NOTIFICATIONS_DELIVERY_BACKEND to notifications.backends.RQ
Configure the django_notifs in settings.py:
RQ_QUEUES = {
    ...,
    'django_notifs': {
        'HOST': 'localhost',
        'PORT': 6379,
        'DB': 0,
        'PASSWORD': '',
        'DEFAULT_TIMEOUT': 360,
    }
}
Finally start the rq worker with:
python manage.py rqworker django_notifs --with-scheduler

See the django-rq documentation for more details
AwsLambda (with SQS)
The setup for this backend is more involved but it’s probably the cheapest and most scalable backend to use in production because the heavylifting and execution environment is handled by AWS.
set NOTIFICATIONS_DELIVERY_BACKEND to notifications.backends.AwsSqsLambda
This backend uses boto3 under the hood; so make sure your AWS credentials are configured e.g:
export AWS_ACCESS_KEY_ID=xxxx
export AWS_SECRET_ACCESS_KEY=xxxx
export AWS_DEFAULT_REGION=xxxx
Clone the lambda worker repository and run:
npm install
The sqs-lambda-worker folder includes four files that are of interest:
.env.example
You can use this file (after renaming it to .env) to configure the environment variables for the autogenerated Lambda function.
You can replace this step by:
Configuring the environment variables in your CI/CD environment (Recommended)
Exporting them in the current shell.
This is useful if you want to test the serverless deployment locally before moving it to your CI/CD
requirements.txt
In order to keep the lambda function as lean as possible, you have to explicitly declare the requirements that are necessary for the lambda function. New providers (and their dependencies) are continuously added to django-notifs so it’s not adviseable to install dependencies for providers that you don’t need because this could impact the startup time of your Lambda function.
serverless.yml
The Serverless file. It contains a blueprint that deploys the simplest configuration possible but the configuration options are endless. see the Serverless documentation for AWS for more information.
settings.py
Declare the Django settings for the lambda function.
After setting these variables deploy the serverless stack to AWS:
serverless deploy --stage <your-stage>
Then update your settings with the generated sqs queue url:
settings.NOTIFICATIONS_SQS_QUEUE_URL = 'xxxxxx' # autogenerated SQS url
Synchronous
This is the default backend that sends notifications synchronously.
You can enable it explicitly by setting NOTIFICATIONS_DELIVERY_BACKEND to notifications.backends.Synchronous